Electric gripper applications by real production task.
Explore battery manufacturing, CNC machine tending, heavy palletizing, flexible material handling, and automotive electronics assembly scenarios. Use the guides to review the workpiece, motion and integration requirements.
Start with the production task.
Match your production task to a gripper family, then send the part and robot details and we will confirm the model with you.
Selection checks for your production task.
These are application guides for selection review. Confirm the model and configuration against your workpiece and process.
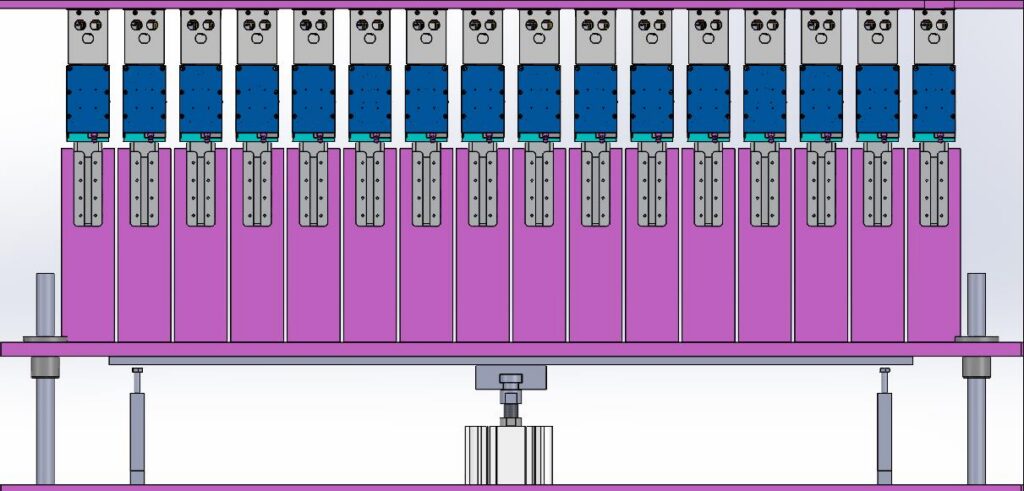
Battery handling, transfer, and weighing
Review contact surfaces, transfer acceleration, release and scale settling for the actual cell or module. Confirm whether combining process steps suits the station.
Read application guide ->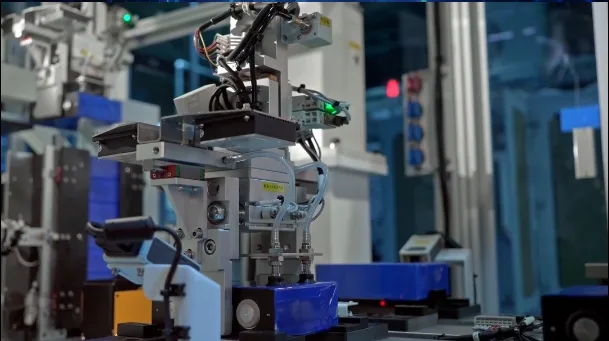
Battery assembly and positioning
Define the permitted contact force, placement tolerance, fixture support and part variation before shortlisting a gripper.
Read application guide ->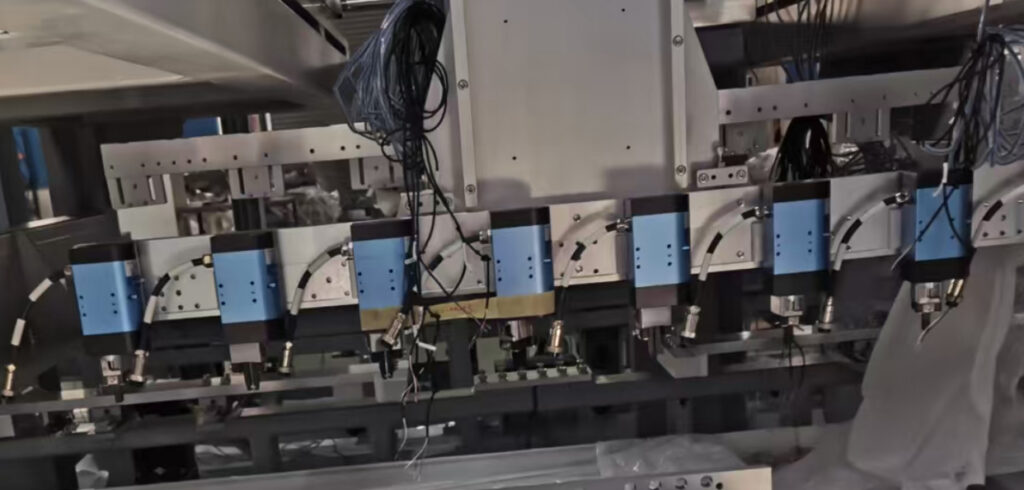
Battery filling and sealing plug installation
Check plug presentation, orientation, insertion load and station clearance. Review a rotating configuration only where the process requires it.
Read application guide ->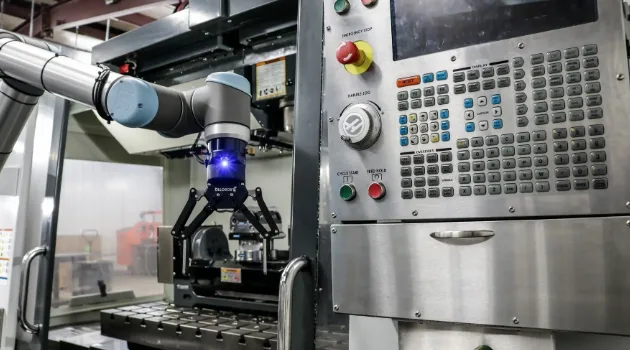
Large-part CNC loading and unloading
Assess the complete tool and part load, finger reach, chuck access and exposure to chips or coolant using the proposed configuration.
Read application guide ->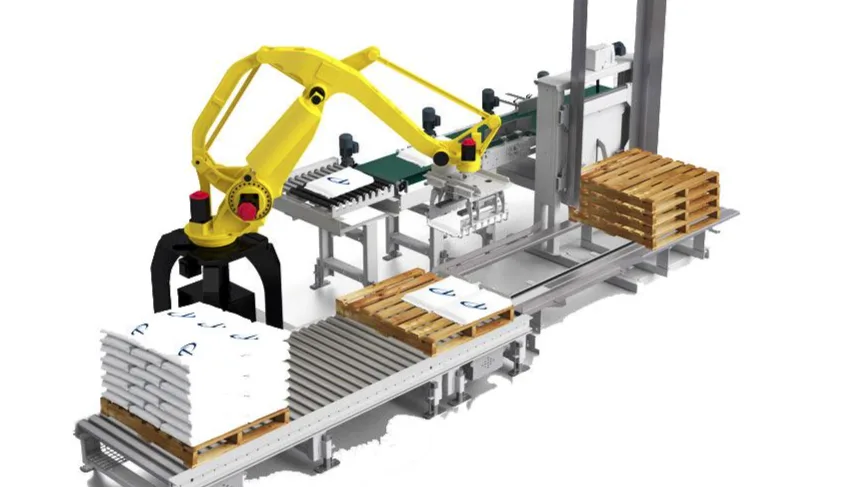
Palletizing and large-part handling
Review product dimensions, packaging strength, transfer acceleration and release into the stack. Confirm retention and the robot load limits.
Read application guide ->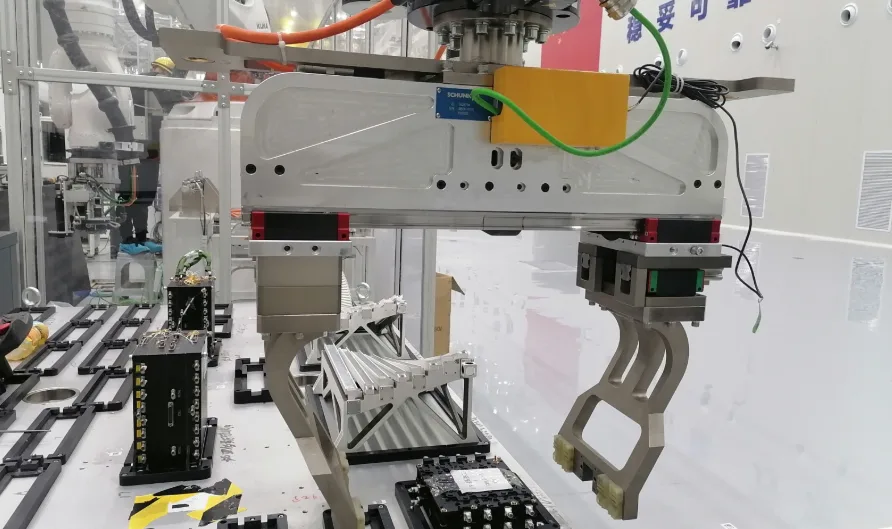
Irregular material handling and transfer
Compare the smallest and largest parts, contact geometry and permitted surface pressure. Confirm the available settings and feedback for the selected unit.
Read application guide ->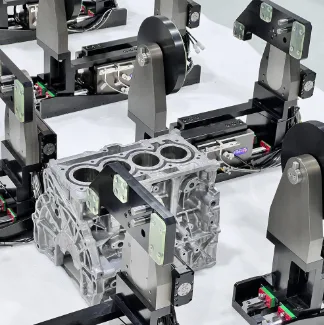
Automotive electronics handling and assembly
Review contact protection, fixture location, ESD requirements and any insertion step separately from transfer. Validate the handling sequence on representative parts.
Read application guide ->Recommended gripper direction by application.
Move from your process requirements to a short list of gripper series before you contact us.
Check part dimensions, surface protection, force limit, and cycle time before selecting the model.
Use higher payload and adaptive force when part shape, weight, or fixture clearance changes.
Select by payload, grip width, speed, feedback, and robot communication requirement.
Confirm the supplied force settings and status feedback, then test surface condition and retention with representative parts.
Focus on repeatability, mounting direction, safety holding, and integration constraints.
From application requirements to model shortlist.
Send part details, robot model, stroke, force, cycle time, destination country, and quantity. We review the application and suggest a practical gripper direction before quotation.
Define the process step
Handling and weighing, CNC loading, palletizing, sealing, transfer, or assembly positioning.
Confirm part constraints
Part size, weight, surface, allowable force, cycle time, fixture clearance, and robot model.
Shortlist the gripper path
Match stroke, force, payload, rotation, communication, and safety holding requirements.
Prepare quote direction
Send photos or drawings so the model and integration notes can be checked before quotation.
Send Your Application
Use the form for structured project details, or WhatsApp for faster model direction and quote preparation.
On this page
Electric gripper applications by production task
Applications are grouped by what the line actually does: battery handling and weighing, battery assembly, filling and sealing, CNC loading and unloading, palletizing, flexible material handling and automotive electronics assembly. Each case starts from the process rather than from an industry label, because two plants in the same industry rarely share the same handling problem.
How to read an application case
Read the case for the checks, not for the answer. Every case lists what has to be confirmed before a gripper is chosen, so you can map those checks onto your own line. Where a case describes the same constraint you have, the selection path is likely to be similar.
Comparing application requirements
Most application reviews begin with the same question: how does the part arrive, and what has to happen to it next. Answering that first keeps the comparison honest, because two tasks that look similar on a process diagram can differ completely in presentation tolerance and contact requirements.
Where two tasks overlap, the useful comparison is not the task name but the constraint that decides it — a soft surface, a tight placement window, a filled component, or a cycle that leaves no margin. Sort the applications by that constraint and the shortlist usually falls out on its own.
FAQ
Which application pages are available?
Battery handling and weighing, battery assembly, filling and sealing, CNC loading and unloading, palletizing, flexible material handling and automotive electronics assembly.
My task is not listed. Does that matter?
No. The checks in each case are written to transfer to other tasks. Send your own task and it can be reviewed the same way.
Before the application decision is made
A selection decision can be taken without a site visit, provided the part data is complete: shape, weight, contact surfaces and the accuracy the placement needs.
- Variation — how much the parts differ within a batch, and how much of that the application choice has to absorb without a change of jaw.
- Hand-over — the position the part must be left in for the next step, and how repeatable that position has to be, noted in the application review.
- Service — what has to be reachable during a normal maintenance window, planned into the application selection rather than discovered after installation.
- Part data — the shape, the weight and the surfaces the application choice may touch, plus any coating or finish that must not be marked.
- Presentation — how the part arrives at the cell and the orientation the next station needs, written into the application notes.
- Contact — whether the finish allows a flat finger or calls for a shaped one, and how much off-position variation the application choice has to tolerate.
- Cell — the robot or axis, the mounting pattern, the cable route and the space around the tool, all checked against the application review.
Keeping this list next to the drawings is worthwhile: the application questions are the same ones any review will raise. Where a point is still unknown, mark it and continue, because the application decision can be revisited once the cell is defined.
In practice, one message with the part, the cell and the cycle is enough to give the application review something concrete to work from. Writing it down is what makes the application decision repeatable when the same family is specified again on a later project.
Reading an application case for your own line
Each case on this site is written as a sequence rather than a description: the part, the presentation, the contact, the control and the hand-over. The value of the case is in the checks, because two plants in the same industry rarely share the same handling problem.
To use a case on your own line, map each check to your process and mark whether it is known, assumed or unknown. The unknowns are the real agenda for the next conversation with a supplier. Everything else is context.
Where a case describes the same constraint you have — a soft surface, a tight placement window, a filled or partially filled component — the selection path is likely to be similar even if the product is different. That is the point of writing cases by process instead of by industry.
Common constraints across application types
Across battery work, CNC tending, palletizing, flexible material handling and electronics assembly, the same constraints keep appearing. Surface protection is one: parts that cannot be marked need contact designed around the finish rather than around the force figure. Presentation is another: a part that arrives slightly off-position will keep arriving slightly off-position, so the grip has to tolerate it.
Cycle stability is the third. A grip that works at the demonstration speed has to keep working when the line runs all shift, which usually means leaving margin in the design rather than tuning the last few milliseconds out of it.
None of these constraints can be solved by a model number alone. They are solved by describing the process honestly and letting the hardware follow.